Hey, knitters! Are you looking forward to picking up a new skill, but confused about how to use it? We have got you covered. In your knitting journey, you may have seen many options to change the shape/width using increased stitches. It is one of the essential techniques; however, you must know where to use this method. This post will explore the different ways to increase the stitches with knitting needles and help you create various projects with them.
What do you mean by increased stitches in knitting and when to use it?
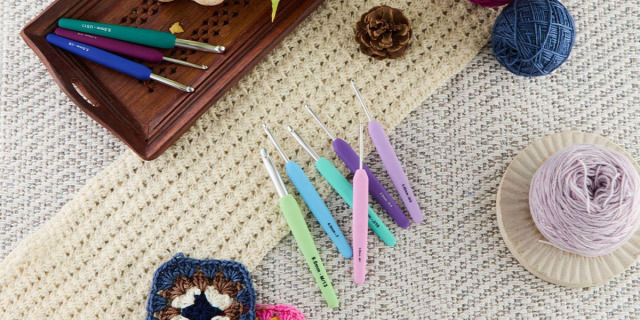
In knitting, increase means adding a stitch to the row. But it mostly depends on the project you are working on. Let’s take an example of the sweater, in which you need to increase the stitches for sleeves and to give a particular shape. Similarly, if knitting a shawl triangular, or curved shapes. Whether you are looking to offer a decorative effect using a visible increase or through an invisible way to change the shape of the stitches, there are various methods to explore. Single-pointed knitting needles are commonly used for back-and-forth in rows and it's good for flat knitting projects.
How do you increase the knit stitches invisibly?
It is essential to pay close attention to the tension and technique while increasing the knit stitches.
Let’s check some of them:
-
KFB (knit front and back)
It is one of the most common and popular methods among knitters. In this technique, you increase into the front stitch, then, you knit into the back of the same stitch. In this way, you will create a two-stitch from one.
-
M1R/M1L (Make one right/left)
These are called right and left-leaning increases. It will create a new stitch by lifting the bar between the stitches and then knitting into it. You will be surprised to see that there are no holes or bumps.
-
KLL/KRL (Knit Left Loop/Right Loop)
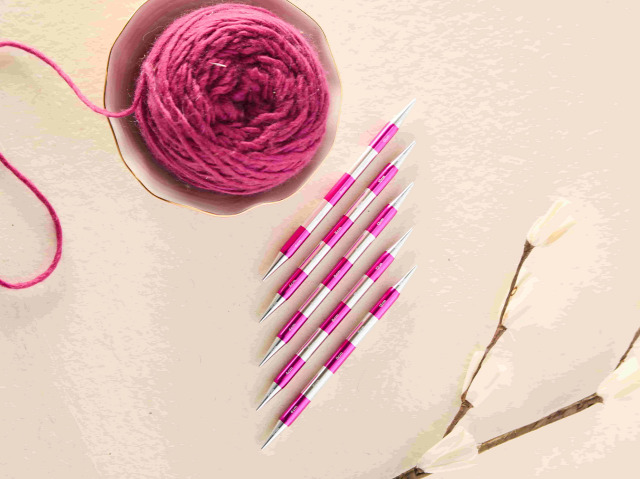
It is similar to the M1R/M1L technique, but in this method, you need to knit at the back of the loop stitch from the previous row. It is used when you want an invisible increase on the right side of the fabric. If you have small projects like socks and hats, you can easily use double-pointed needles as it allows you to knit from both sides and gives you more control over motions.
How do you increase the knit stitches visibly?
Applying visible increases can benefit patterns, and designs such as raglan sweaters or lacework.
Some of them are:
-
Yarn over (YO)
This YO increase will create a hole in the fabric called an eyelet, which appears in the next row. In this technique, bring the yarn in front of the needle, and then knit the next stitch. You will see a gap between the stitches. The patterns are mostly suitable for lace or shawls.
-
Backward loop cast-on or e-loop
In this method, create a loop on the right-hand needle and then place it on the left-hand needle. Afterward, insert the right-hand needle into the loop from front to back and knit the loop. You can see a small bump on the fabric.
-
LLI/RLI (Left Lifted Increase/Right Lifted Increase)
This is also known as ‘raised increase’. It is mostly used to make decorative patterns. A new stitch is formed by knitting into the stitch below the next stitch on the left-hand needle and then knitting the next stitch. LLI creates the left-leaning bar while the RLI forms the right-leaning.
For RLI increase, knit into the front stitch of the next stitch. Insert the left-hand needle from the back to the front of the horizontal strands of yarn between the stitches just worked on and the next stitch on the left-hand needle. Knit the stitch through the back loop.
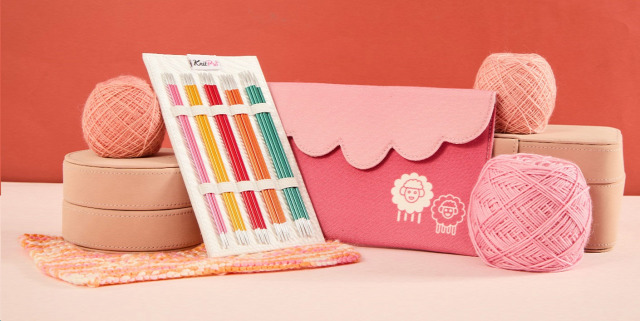
Circular needles are the best option for making a larger circular project because they can easily hold many loops.
Mastering the increased stitches for different projects can help you to make different patterns and unique designs. After learning multiple increase methods, you can incorporate them into various knitting projects. But you need to practice it regularly and make sure you know where you need to apply this fantastic technique.